If you’re trying to make your home healthier and reduce electromagnetic field (EMF) exposure, the most important first step isn’t expensive shielding paint or turning off your Wi-Fi forever – it’s measuring what’s really happening. Without accurate measurements, you’re only guessing. That’s where an EMF meter becomes your most powerful tool.
In this guide, we’ll show you how to use an EMF meter at home step by step – even if you’ve never used one before. You’ll learn exactly what EMF meters measure, how to choose the right model for your budget, how to do a complete room-by-room walkthrough, and how to interpret the numbers you see. We’ll also walk through how to respond if your meter uncovers high levels of EMF, including practical solutions and protective products from DefenderShield and EMF-Harmony.
Whether you want to protect your kids’ bedrooms, improve sleep quality, or simply understand your home’s electromagnetic environment, this is your complete, easy-to-follow guide. By the end, you’ll know how to use an EMF meter at home step by step – and how to turn that data into real changes that make your home safer and more comfortable.
EMF in One Minute: What You’re Actually Measuring
Before we get into the meter itself, let’s quickly summarize what we’re talking about when we say “EMF.”
Electromagnetic fields (EMFs) are invisible energy waves generated by electricity and wireless signals. In your home, they primarily come in three forms:
- Magnetic fields (ELF): These come from current flow – think power lines, circuit panels, motors, and large appliances. They’re measured in milligauss (mG) or microtesla (µT).
- Electric fields (ELF): Produced by voltage in wiring and devices, even when they’re turned off. These are measured in volts per meter (V/m).
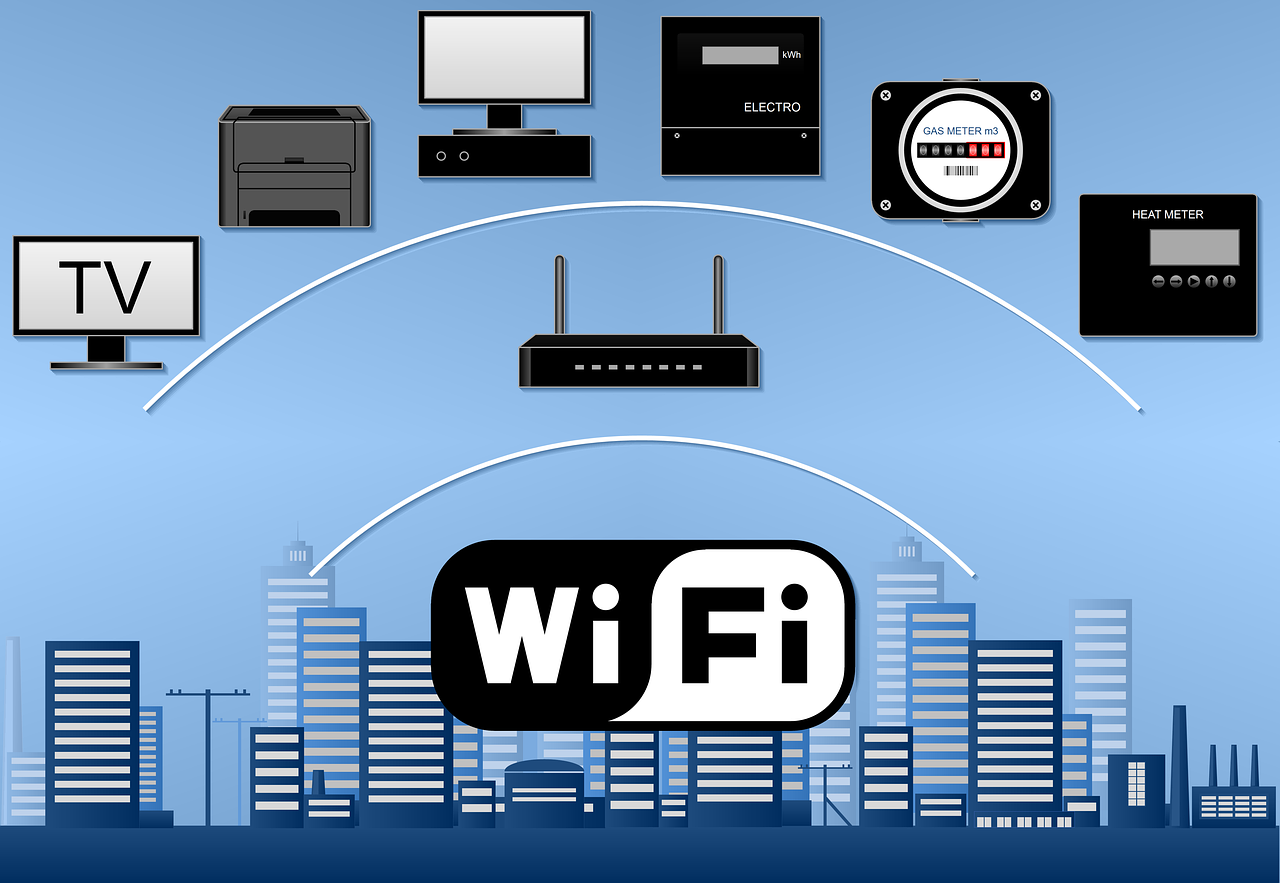
- Radiofrequency (RF) fields: Emitted by wireless sources like Wi-Fi routers, cell phones, Bluetooth devices, and smart meters. These are usually measured in V/m or power density (µW/m²).
Health agencies like the WHO and ICNIRP focus on preventing known harmful effects from high exposures. But many people choose to minimize unnecessary exposure at home – especially in sleeping areas and children’s rooms – by increasing distance, optimizing device placement, and using shielding tools.
That’s where an EMF meter becomes invaluable. It doesn’t tell you if something is “safe” or “dangerous” – but it shows you where fields are strong, so you can make informed choices.
What an EMF Meter Actually Measures
An EMF meter is a handheld device that detects and displays the strength of electromagnetic fields in your environment. Here’s what you should know before you start using one:
- Magnetic field mode: Use this to check around breaker panels, refrigerators, induction cooktops, motors, and along walls where wiring runs. It shows how current flow changes as devices turn on and off.
- Electric field mode: Best for scanning along cords, lamp cables, power strips, and walls. These readings change based on grounding and shielding.
- RF mode: Measures the invisible radiation from wireless devices like routers, phones, smart meters, and baby monitors. This is often the most variable reading and changes quickly with device use.
Some meters offer single-axis sensors, which measure one direction at a time, while tri-axis meters scan all three dimensions simultaneously – saving time and increasing accuracy. Advanced models also offer audio signal identification and data logging, which help pinpoint sources more precisely.
Choosing the Right EMF Meter: From Budget to Professional
Before learning how to use an EMF meter at home step by step, you need the right tool. EMF meters come in a wide range of prices and capabilities. Here’s how they break down:
Tier A – Entry-Level (Under $150)
- Basic detection of magnetic, electric, and RF fields.
- Easy to use but may lack precision or range.
- Best for quick surveys or beginners.
Example features: single-axis, analog displays, basic mode switching.
Tier B – Consumer Grade ($150–$350)
- Most popular for home use.
- Often tri-mode (magnetic, electric, RF) and tri-axis for easier scanning.
- More accurate and stable readings.
Example features: digital displays, audio signal detection, peak hold.
Tier C – Prosumer ($350–$900)
- Improved sensitivity and range.
- Better frequency response and audio analysis for RF.
- Useful for more detailed home audits.
Example features: data logging, wide RF range, calibration options.
Tier D – Professional ($900+)
- Highest accuracy and reliability.
- Used by building biologists and consultants.
- Often include external probes and certified calibration.
Example features: spectrum analysis, downloadable logs, traceable calibration certificates.
Why Manufacturer Status Matters
When buying a meter, manufacturer credibility is crucial. Look for:
- Published technical specs and frequency ranges.
- Calibration certificates or traceable calibration options.
- Ongoing firmware or software support.
- A responsive service and warranty program.
- Independent test data or certifications.
Reputable brands (like Gigahertz Solutions, Safe Living Technologies, Cornet, and Trifield) are more likely to deliver reliable and repeatable results.
How to Use an EMF Meter at Home Step by Step
Now for the most important part – the actual walkthrough. Follow this step-by-step guide to measure your home accurately and identify potential problem areas.
Step 1: Preparation
Before you start:
- Read the manual – Familiarize yourself with modes, units, and buttons.
- Charge or install fresh batteries – Weak power can affect readings.
- Create a simple log sheet – A notebook or spreadsheet will do. Record location, time, reading, and what was on/off.
- Plan your path – Start with the bedroom, then move to other rooms.
Tip: Stand a few feet away from walls and avoid touching metal objects while measuring – your body can influence readings.
Step 2: Establish a Baseline
Turn off as many devices as possible to measure background levels. Then:
- Record magnetic and electric fields near walls, outlets, and appliances.
- Check RF levels with Wi-Fi and phones off, then again with them on.
- Note the difference — this helps identify what’s contributing most.
This step is key to understanding what’s “normal” in your space.
Affiliate Advertisement

Step 3: Scan the Bedroom (Highest Priority)
This is where you spend the most time, so focus here first.
- Magnetic fields: Measure near the head of the bed, floorboards, and walls. If readings spike, wiring or a panel may be nearby.
- Electric fields: Scan outlets, lamps, and cords. Unplugging lamps or rerouting cords often reduces readings.
- RF fields: Measure both inside and outside walls, especially those facing smart meters or cell towers.
Tip: If readings remain high near your bed, consider DefenderShield EMF shielding blankets or EMF-Harmony harmonizing devices to reduce exposure while you sleep.
Step 4: Scan the Kitchen
Kitchens often have strong magnetic fields from large appliances.
- Check near the back of refrigerators, microwaves, and ovens.
- Measure RF near smart fridges or Wi-Fi-connected appliances.
- Scan near induction cooktops – these often emit strong fields when active.
Mitigation tip: Move small appliances off high-use counters, and keep distance from large ones when operating.
Step 5: Scan the Office and Living Areas
Electronics are concentrated here.
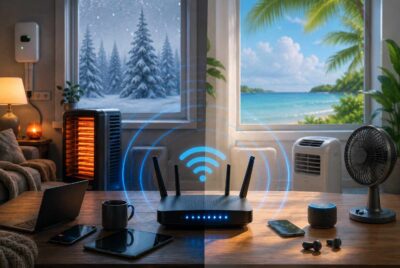
- Check around routers, modems, power strips, and entertainment systems.
- Measure close to desks where laptops and chargers operate.
- Move devices farther from where you sit, or use DefenderShield laptop pads and phone cases to reduce close-contact exposure.
Affiliate Advertisement
Step 6: Check the Electrical Panel and Service Lines
Breaker panels and incoming service lines often create elevated magnetic fields.
- Take readings 1 ft, 3 ft, and 6 ft away from the panel.
- Check walls behind the panel in adjacent rooms.
If readings are high in a frequently used area, rearrange furniture or move beds/desks further away.
Step 7: Retest at Different Times
Some EMF sources cycle on and off during the day. Retest during:
- Morning (high Wi-Fi and phone use)
- Evening (more appliance use)
- Night (background baseline)
Logging multiple times builds a more accurate picture of your exposure.
Home EMF Testing Log (Optional but Powerful)
| Room / Area | Magnetic (mG) | Electric (V/m) | RF (µW/m²) | Devices On | Notes / Changes |
| Bedroom – Headboard | 1.2 | 8 | 50 | Wi-Fi ON | High RF – close to window facing tower |
| Kitchen – Microwave | 5.6 | 15 | 120 | Microwave ON | Only spikes when cooking |
| Office – Desk | 0.8 | 22 | 300 | Router ON | Consider router move or shield |
This kind of log helps track progress over time and shows how changes affect readings.
How to Interpret EMF Meter Results
Your meter doesn’t label anything “safe” or “dangerous” – but you can use relative comparisons:
- Compare on vs off readings to identify problem sources.
- Compare distance changes – EMF strength drops quickly as you move away.
- Focus on rooms where you spend the most time (bedroom, office).
If you consistently see high readings, prioritize changes there first.
What to Do About High EMF Readings
Finding high levels isn’t a reason to panic – it’s an opportunity to improve. Here’s how:
1. No-Cost Fixes
- Increase distance – Even moving a device 2–3 feet can cut exposure dramatically.
- Rearrange furniture – Move beds and desks away from walls with wiring or breaker panels.
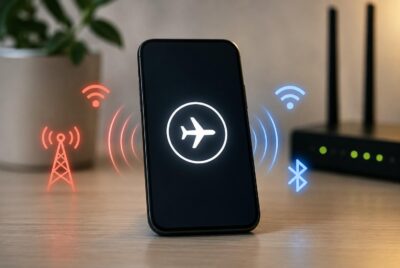
- Use wired connections – Ethernet instead of Wi-Fi, corded phones instead of cordless.
- Turn devices off when not in use – Especially Wi-Fi routers overnight.
2. Low-Cost Solutions
- Outlet timers – Automatically shut off Wi-Fi or smart plugs overnight.
- Ferrite chokes – Snap onto cables to reduce EMF emissions.
- Router stands – Elevate routers above sitting height to reduce exposure.
3. Use EMF Protection Products
Some situations call for additional mitigation tools. These products don’t replace good habits – they complement them:
- DefenderShield Laptop Pads & Phone Cases – Block EMF directly at the source, ideal for people who use devices close to their body.
- DefenderShield EMF Blankets – Perfect for bedrooms and nurseries where reducing RF exposure is a priority.
- EMF-Harmony Home & Office Harmonizers – Subtle, easy-to-install solutions that support your body’s natural response to EMF exposure throughout your home.
- EMF-Harmony Wearable Jewelry – Personal harmonizers that can be worn daily for added protection.
Always retest after installing any mitigation solution to see the difference firsthand.
Common Mistakes to Avoid
Before we wrap up, here are some pitfalls beginners often fall into:
- Measuring too quickly – Move slowly and wait for stable readings.
- Touching the meter to devices – Always measure at least 6 inches away.
- Standing on cords or near metal objects – Your body can influence readings.
- Not logging changes – It’s hard to remember what improved without notes.
- Chasing tiny fluctuations – Focus on large differences and consistent hotspots.
Conclusion
Learning how to use an EMF meter at home step by step is one of the most empowering things you can do to take control of your environment. Instead of guessing, you’ll know exactly where EMF levels are highest and how to address them. With the right meter, a careful room-by-room scan, and smart solutions like increasing distance, changing device habits, and using products from DefenderShield and EMF-Harmony, you can make meaningful improvements to your home’s electromagnetic environment.
Your home is where you spend most of your life – and small, measured changes can have a big impact over time. Start with the meter, follow these steps, and build a space that supports comfort, sleep, and well-being.
Before You Go…
Get Weekly EMF Protection Tips
Enjoy this article? Join the EMFLuLu newsletter for simple weekly tips to reduce everyday EMF exposure from phones, WiFi routers, laptops, and smart home devices.
Try Our Free EMF Calculators
Curious how much EMF exposure you may experience each day?
These simple tools can help you estimate your exposure and identify possible problem areas in your home.
Try these free calculators:
Like this article? Pin it on Pinterest!
More to Explore